


Easy Palusami Recipe | Polynesian Cultural Center Blog
What is Palusami?
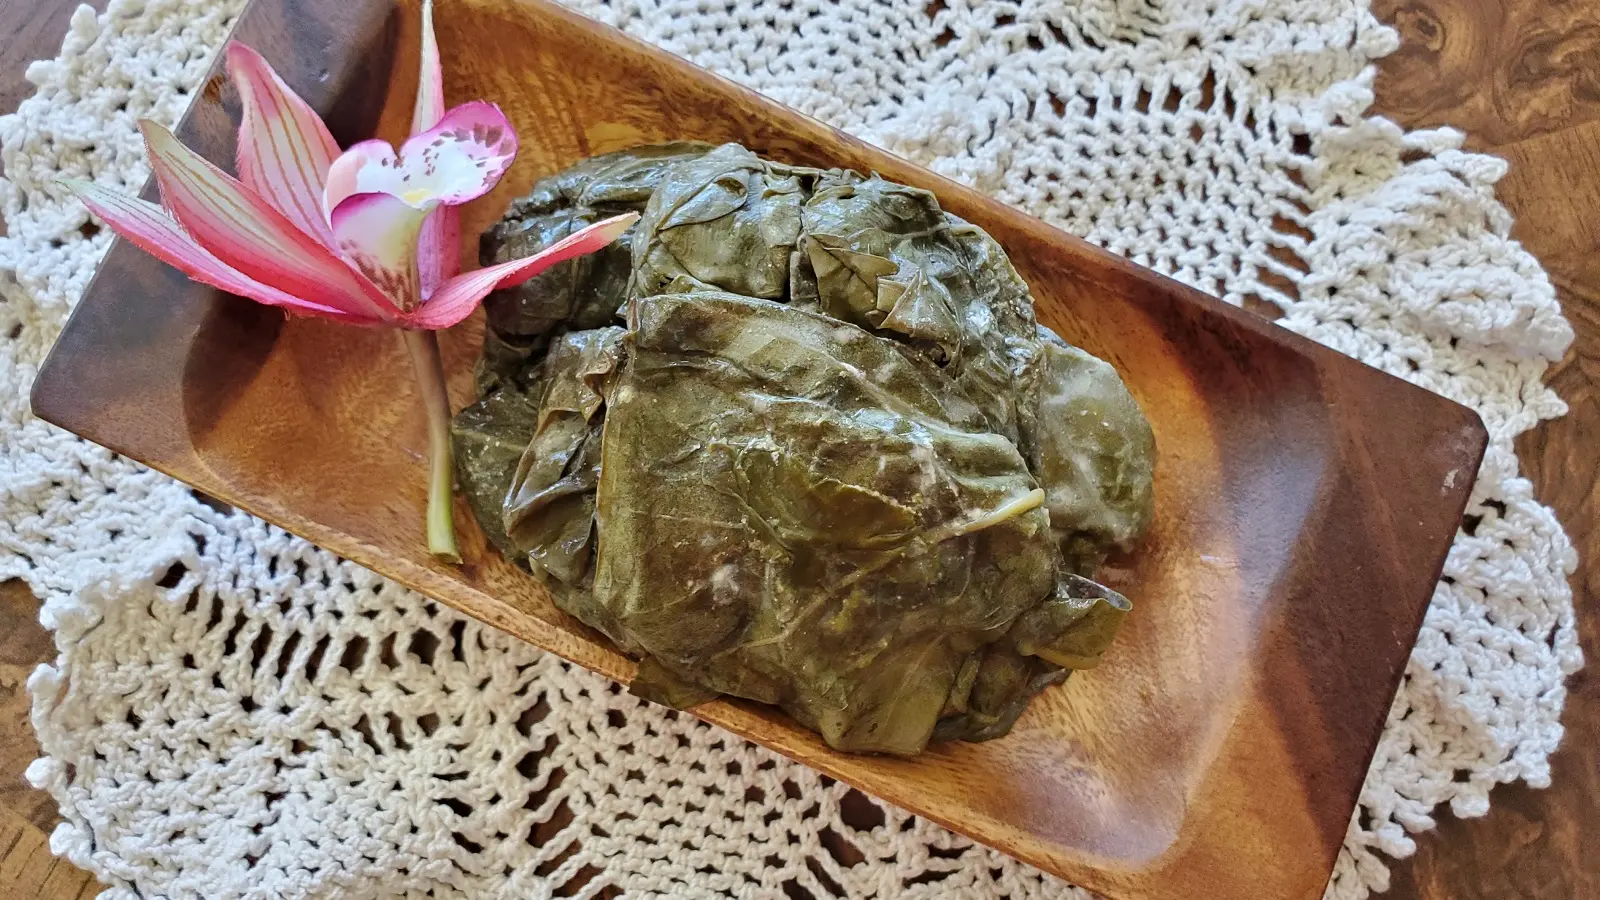
One of the first truly Polynesian dishes served to me when arriving in Lāʻie was an amazing little dish Samoans call Palusami. The website Cooking Hawaii Style defines it as: A traditional Samoan dish of wrapped bundles of taro leaves with a coconut and onion filling. Sometimes made with chicken, …fish [or corned beef] along with the coconut. Very similar to our Hawaiian lau lau.
This popular dish actually can be found in varying forms across Polynesia and Asia. Fiji versions may include corned beef, tomatoes, and garlic. The Filipino version is called Laing, made with dried taro leaves simmered in coconut milk.
But the original dish I fell in love with was a simple vegetable medley. Imagine my joy when I found out how easy it was to prepare! The best part is that you can also prepare this great dish, even if you do not have access to the fresh, young leaves of island taro. With this recipe, you will find three variations: the standard recipe, the truly island style, and the super-easy mainland version. Hope you enjoy it as much as I do!
Classic Palusami Recipe – With taro leaves
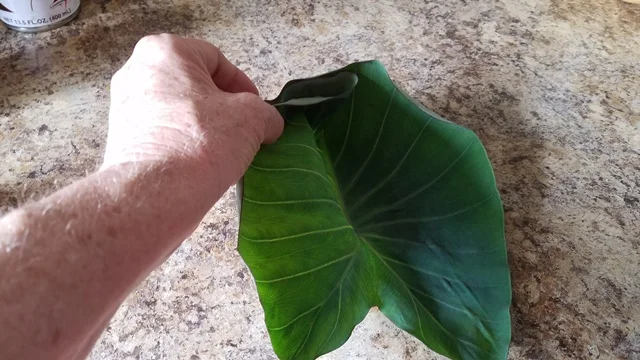
NOTE: It is VERY important that you get young, smaller leaves. All taro leaves contain calcium oxalate, which in its raw form irritates your mouth, throat, and possibly stomach – feels like scratches or sores. Your tongue can also swell, and you may lose your sense of taste. A little underdone is irritating. A lot (or raw) is downright dangerous! Thoroughly remove the thick stem on the back, including the round section that attaches to the leaf. Some Polynesians suggest that you also cut off the tip of the leaf. Make sure to wash the leaves thoroughly. This recipe includes instructions for steaming and for oven baking.
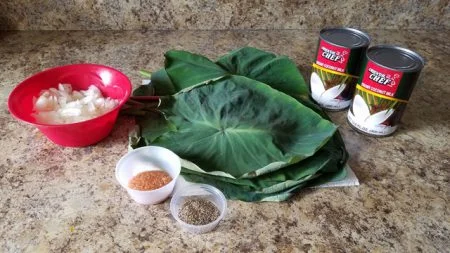
Ingredients
- Young taro leaves — Make sure the stems are still green; if they’re red, do not use them. You’ll need 4–6 leaves per serving, depending on size. For 8 servings, prepare approximately 32–48 leaves.
- 2 cans (13.5 oz / 400 ml each) creamy-style coconut milk — If creamy-style is unavailable, standard coconut milk will work as a substitute.
- 1 medium to large onion, chopped
- Salt, to taste — I used a wonderful Hawaiian salt.
- Black pepper (optional)
- 2 cups (475 ml) water
Directions
In a bowl, mix together the coconut milk, onions, salt, and pepper
*Note – if you did not purchase the creamy style coconut milk, take your cans, place them in the refrigerator UPSIDE DOWN for at least 1 hour. Now, open them carefully from the top. There will be solid white coconut milk and some transparent liquid. Do your best to drain the liquid out, while saving the white cream. This will give you a little less volume than the full can of creamy style, so calculate that into your preparations.
Take the washed and dried taro leaves and begin building a bowl on the palm of your hand. Notice how fresh these young leaves, straight off the plant, are. Leaves from the store tend to be a bit more ragged, but they still work.
Using the largest leaf on the bottom, begin stacking leaves on top, each smaller than the other. You will want to use 4 – 6 leaves each serving.
Now, spoon the coconut milk mixture into the bowl of the taro leaves. Fill it up about halfway, maybe a cup or so, but not so much that it overflows when you wrap it.
For true island flavor, Samoan palusami is cooked in an umu, but most cooks do not have a pit oven available. Not to worry! An electric steamer is the most common method for many Polynesian families, and it guarantees the dish guaranteed tender! Simply place prepared palusamis in the steamer with the required amount of water and cook for at least 4 hours or more.
Alternate cooking: Fill a 8 x 13 baking pan with about 1 1/2 inches of water.
Now place each packet side by side, making sure that it sits with the excess foil facing up and that the foil on the bottom has no holes which would allow water to seep inside. Cover it with another sheet of aluminum foil. Crimp it around the edges for a good seal and cook at 350 degrees for at least 3 1/2 – 4 hours.
VARIATIONS: Making it really authentic!
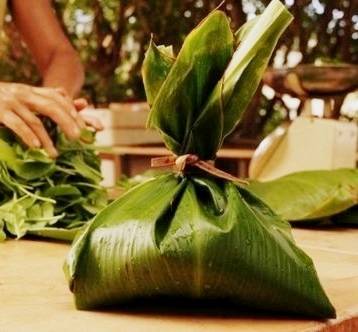
To enjoy your palusami with a true island flavor, instead of using aluminum foil, take one or two ti leaves (depending on size) and wrap them around the prepared palusami ‘ball’. Use the stem, which is very pliant, as your tie. Then just place in the electric steamer as before. NOTE: If baking in the oven, you will still need to add water to the pan and cover it with aluminum foil.
Manaia (delicious)!!!!
Spinach Palusami – The easiest variation of all!
For our mainland fans who may have a difficult time finding fresh taro leaves, simply use spinach leaves! You will need a lot, so get at least two bunches.
You can use aluminum foil to make individual servings (I’d use a lot more leaves per serving than pictured here) or simply place your leaves in the bottom of a baking dish and pour the coconut milk mixture over the top. Cover with foil and cook until tender (if using spinach, 1 hour should be plenty of time).
Placing the ingredients in a crockpot on low for a few hours is another popular way to prepare it.
No matter what method you use, you are sure to enjoy this tasty yet healthy dish.